Installation on GoDaddy Site Builder
Note: Due to limitations in GoDaddy Website Builder, the chat widget will be sandboxed within the section it is added to. It will not display at the bottom right corner of every page as typically expected in other environments and will be limited to the section you add it to.
Due to this limitation, we recommend installing on your contact page.
Prerequisites
- Administrative access to your GoDaddy site.
- Your unique
keyfor the XAPP Chat Widget.
Adding to the Contact Us Page
-
Log Into Your GoDaddy Account
- Sign in and navigate to your Website Builder dashboard.
-
Open the Contact Us Page
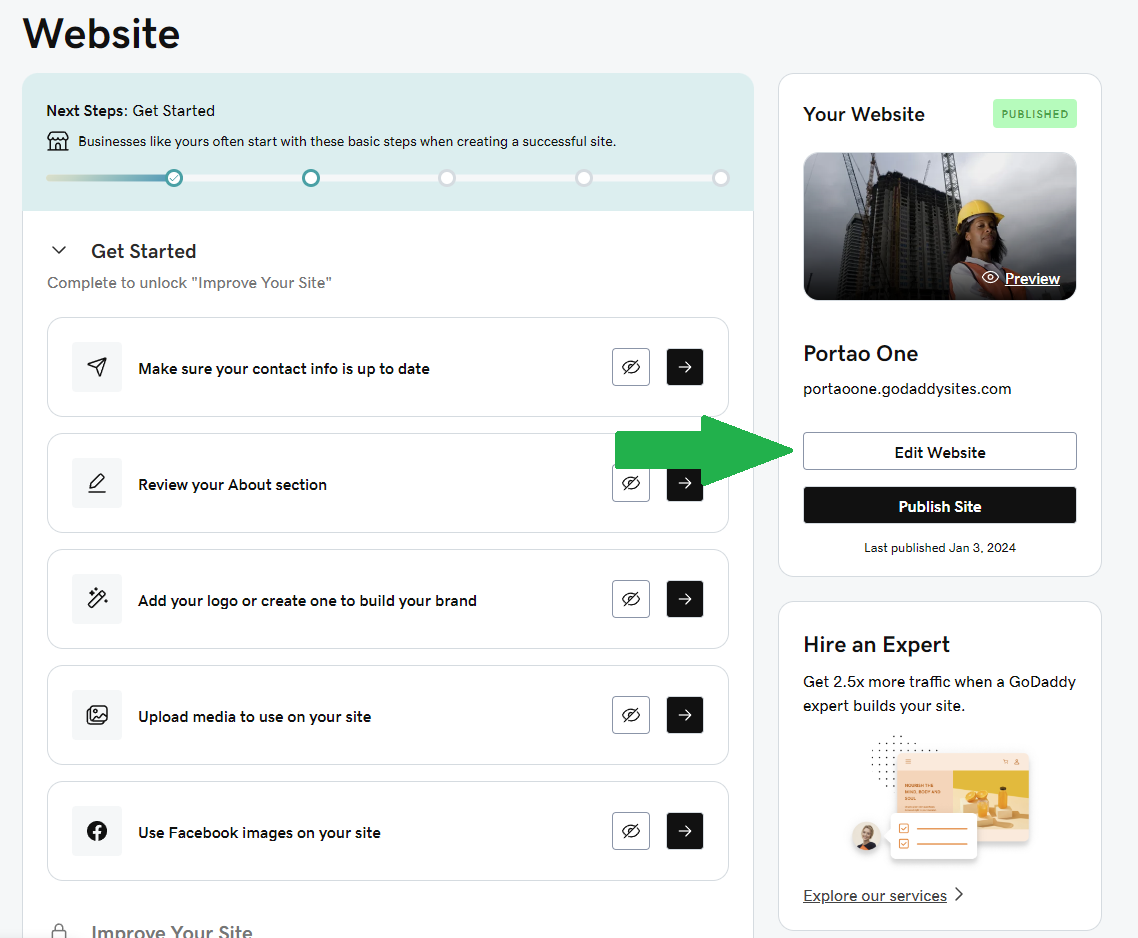
- Select "Edit Website" or "Edit Site" and navigate to your
/contact(Contact Us) page.
- Select "Edit Website" or "Edit Site" and navigate to your
-
Add a Custom HTML Section
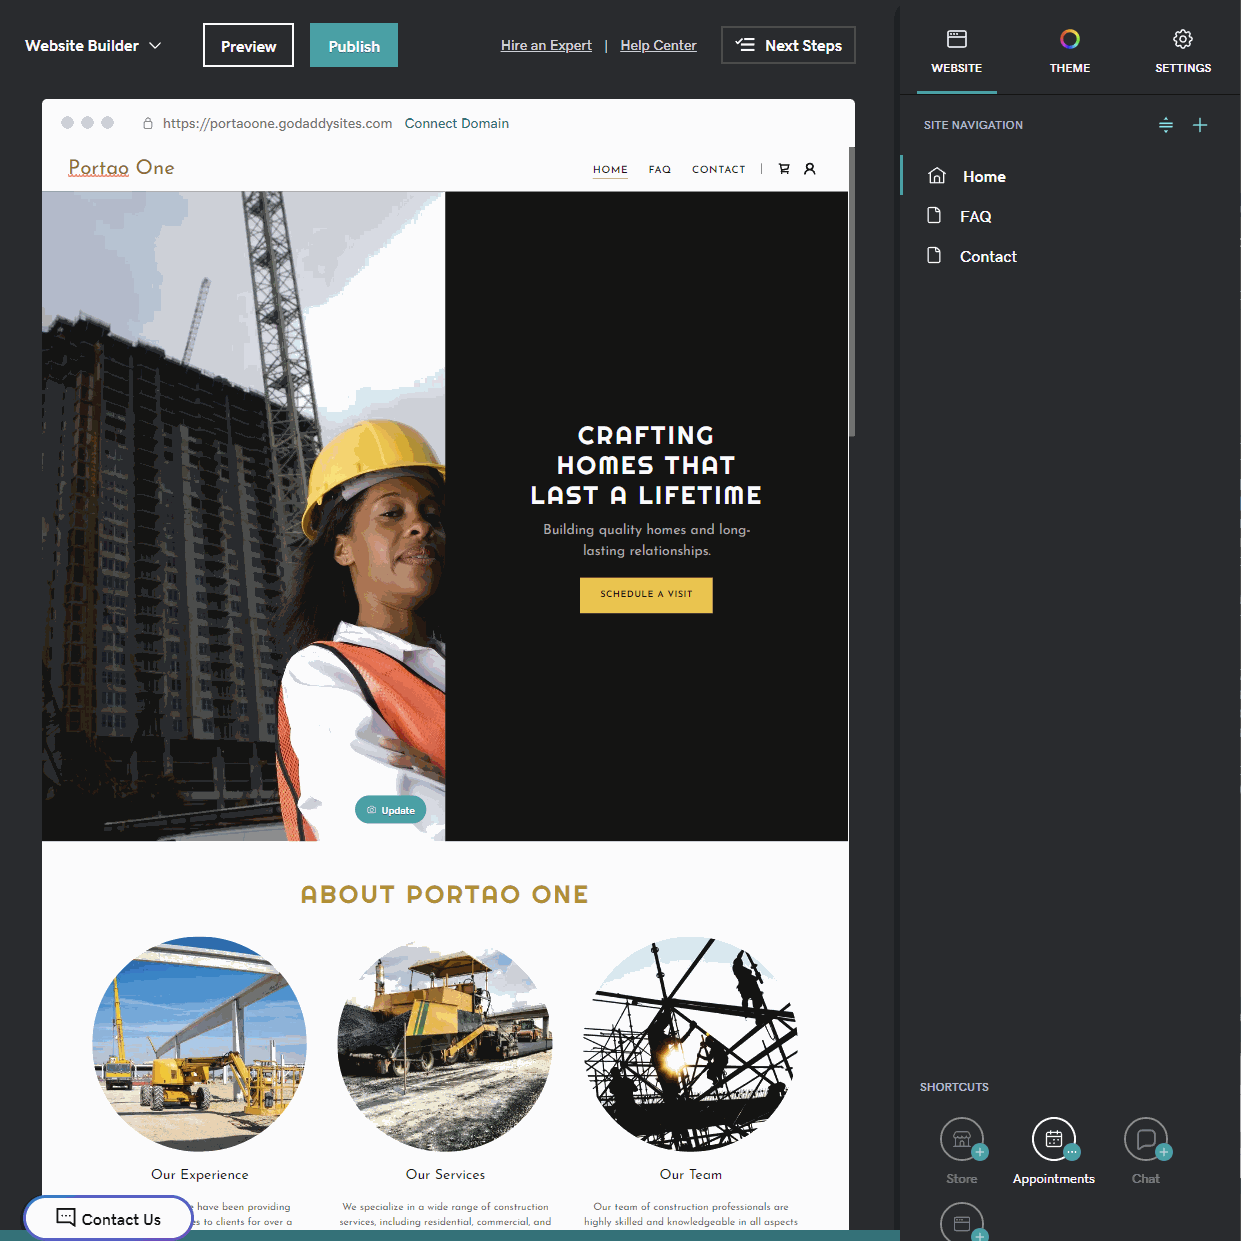
- Choose to add a new section by clicking a "+" button right below the site header, select the "HTML" section.
- Set the Title to be "Chat"
- Paste the widget script in the Custom Code field:
Chat Snippet
<script
  id="xapp-js"
  src="https://widget.xapp.ai/xapp-chat-widget.js?key=YOUR_CHAT_KEY"
></script>
Note! Please replace "YOUR_CHAT_KEY" with your actual widget key.
Form / Scheduler Snippet
<script
  id="xapp-form-js"
  src="https://form.xapp.ai/xapp-form-widget.js?key=YOUR_FORM_KEY"
></script>
Note! Please replace "YOUR_FORM_KEY" with your actual widget key.
- Set Forced Height to be 600
- Turn on Center align
-
Set Chat Widget to Auto Open & Adjust Size
-
Customize and Publish
- Adjust the section settings as needed.
- Preview the changes and then publish your site.

This approach places the chat widget on the Contact Us page, providing a focused area for visitor interactions.