Chat
Website Chat provides an AI assistant that is trained on your website and industry that is capable of answer questions from site visitors and is able to take down contact information for potential customers (starting at the Leads tier).
Starter Chat vs Leads Chat
There are two main differences between Starter chat & our paid tier chat.
- Opportunity Alerts & Live Agent Takeover
- Lead Capture in Chat
Opportunity Alerts & Live Agent Takeover
Starting at Leads, you can configure opportunity alerts which email you when a conversation has started with the chat and then allow you to join the chat if you like.
Lead Capture in Chat
The underlining training is exactly the same however on Starter, we will provide the contact information (phone number, email, contact us page) when somebody wants to get in touch and on the Leads package, the chat will take down their information and send it to either your email or integration (FSM or CRM).
Installation
Below are links to our installation guide by website platform.
- WordPress: Install Chat Widget on WordPress
- Drupal: Install Chat Widget on Drupal
- Shopify: Install Chat Widget on Shopify
- Wix: Install Chat Widget on Wix
- Squarespace: Install Chat Widget on Squarespace
- Joomla: Install Chat Widget on Joomla
- GoDaddy Website Builder: Install Chat Widget on GoDaddy Website Builder
- Zyro/Hostinger: Install Chat Widget on Hostinger (previously Zyro)
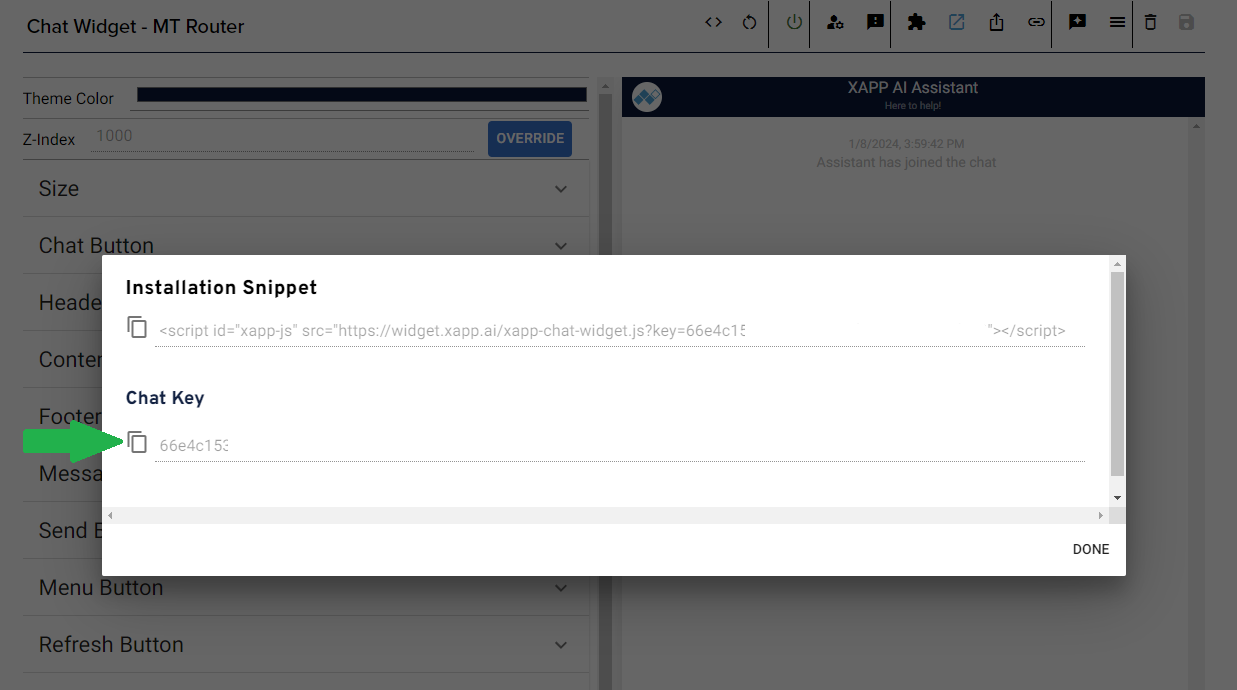
Finding Code Snippet & Key
For each, you will either need the code snippet or widget specific key. Both of these are found on the chat widget's settings page after you click the puzzle piece in the header.

The chat widget key is used primarily for the WordPress plugin and the script snippet is used for all others.
Additional Resources
This documentation is dynamic, in some cases you unique snippet will be presented to you in the installation guides. It will be noted below the snippet if it is unique to you or if you need to modify it.
Customization
All customization can be done from within Studio. Once you save, the changes will be made immediately however you will need to refresh your website to see the changes.
Theme Color
You can quickly change the theme color which will set a default color for many parts of the widget at once. For most, this is all you need to do.
You can then override specific parts, such as header or footer colors, to your liking by digging into the individual elements and changing those.
You can set the color with RGB, HSL, or HEX values. You can even select the color picker to select parts of the screen. This is helpul to quickly match the colors already on your website.
Z-Index
You may find that the widget is hidden or partially obstructed by other elements on your website. To fix this, you can try increasing the Z-Index, or the height of the button on the page, to move the button in front of the obstruction.
Size
The size of the opened widget can be changed to your liking. Expand the Size, click "Override" and adjust the width and height accordingly.
Button Position
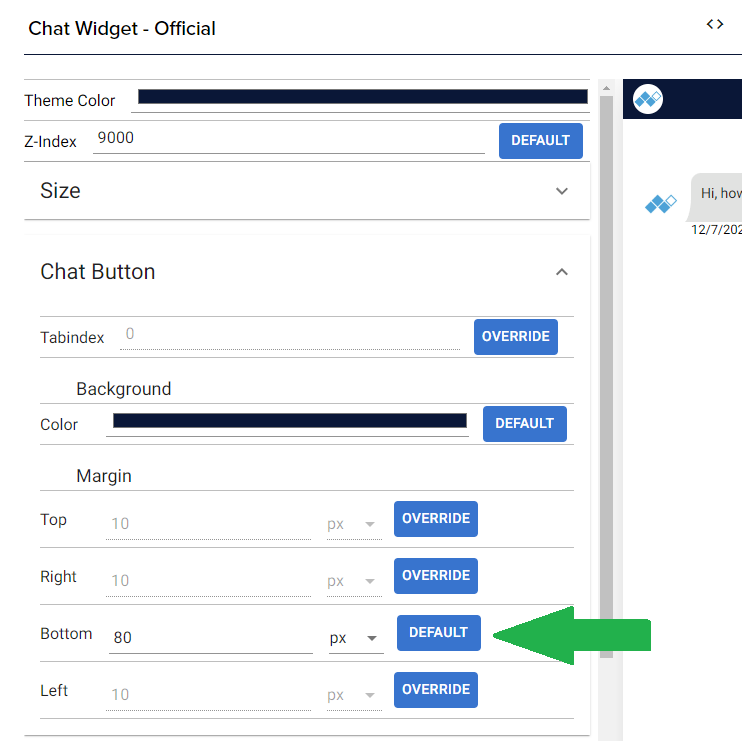
You may have other widgets installed and occupying the bottom right corner of your website (the default position of the button). You can make adjustments to the button to account for this interference.
The following settings, overriding bottom margin to 80px, will move the button up and should be sufficient to overcome the above obstruction.
Advanced Customization
Auto-open the Widget
You can make the chat widget auto-open by page width or by matching specific pages of your website.
Click the widget button settings in the header and you will then see numerous options. At the top are the auto-open settings.
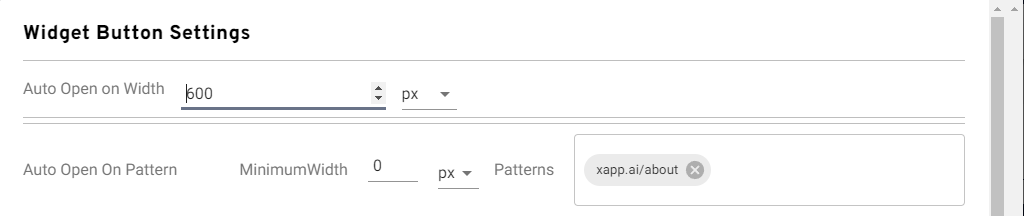
The first field, when set, will auto-open the chat widget when the provided width of the website is met. A value of 600 will auto-open the widget on tablets and desktop widths but not mobile.
The second field, as configured in the screenshot, will always auto-open when on the xapp.ai/about page. This configuration can be helpful for about or contact us pages where you would prefer the visitor uses the widget to communicate.
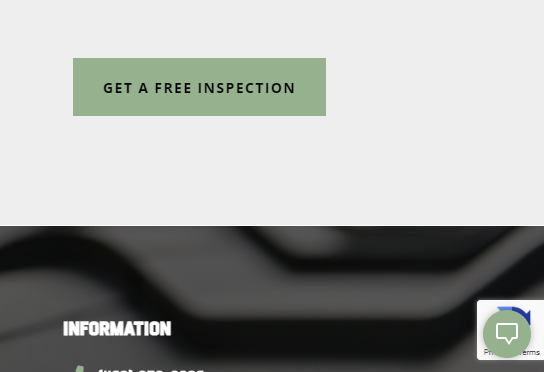
Preview and Sharing
You can preview your widget by clicking the preview link, which will open a new tab with the widget as it would appear on a website. This link can be shared for testing and feedback purposes and does not require a Studio login.

Disabling
You may temporarily disable the widget on your website from Studio, which will stop the chat button from displaying and make it inaccessible to users.

Once disabled, the button will change from green to red.